This post may contain affiliate links. Please read our disclosure policy.
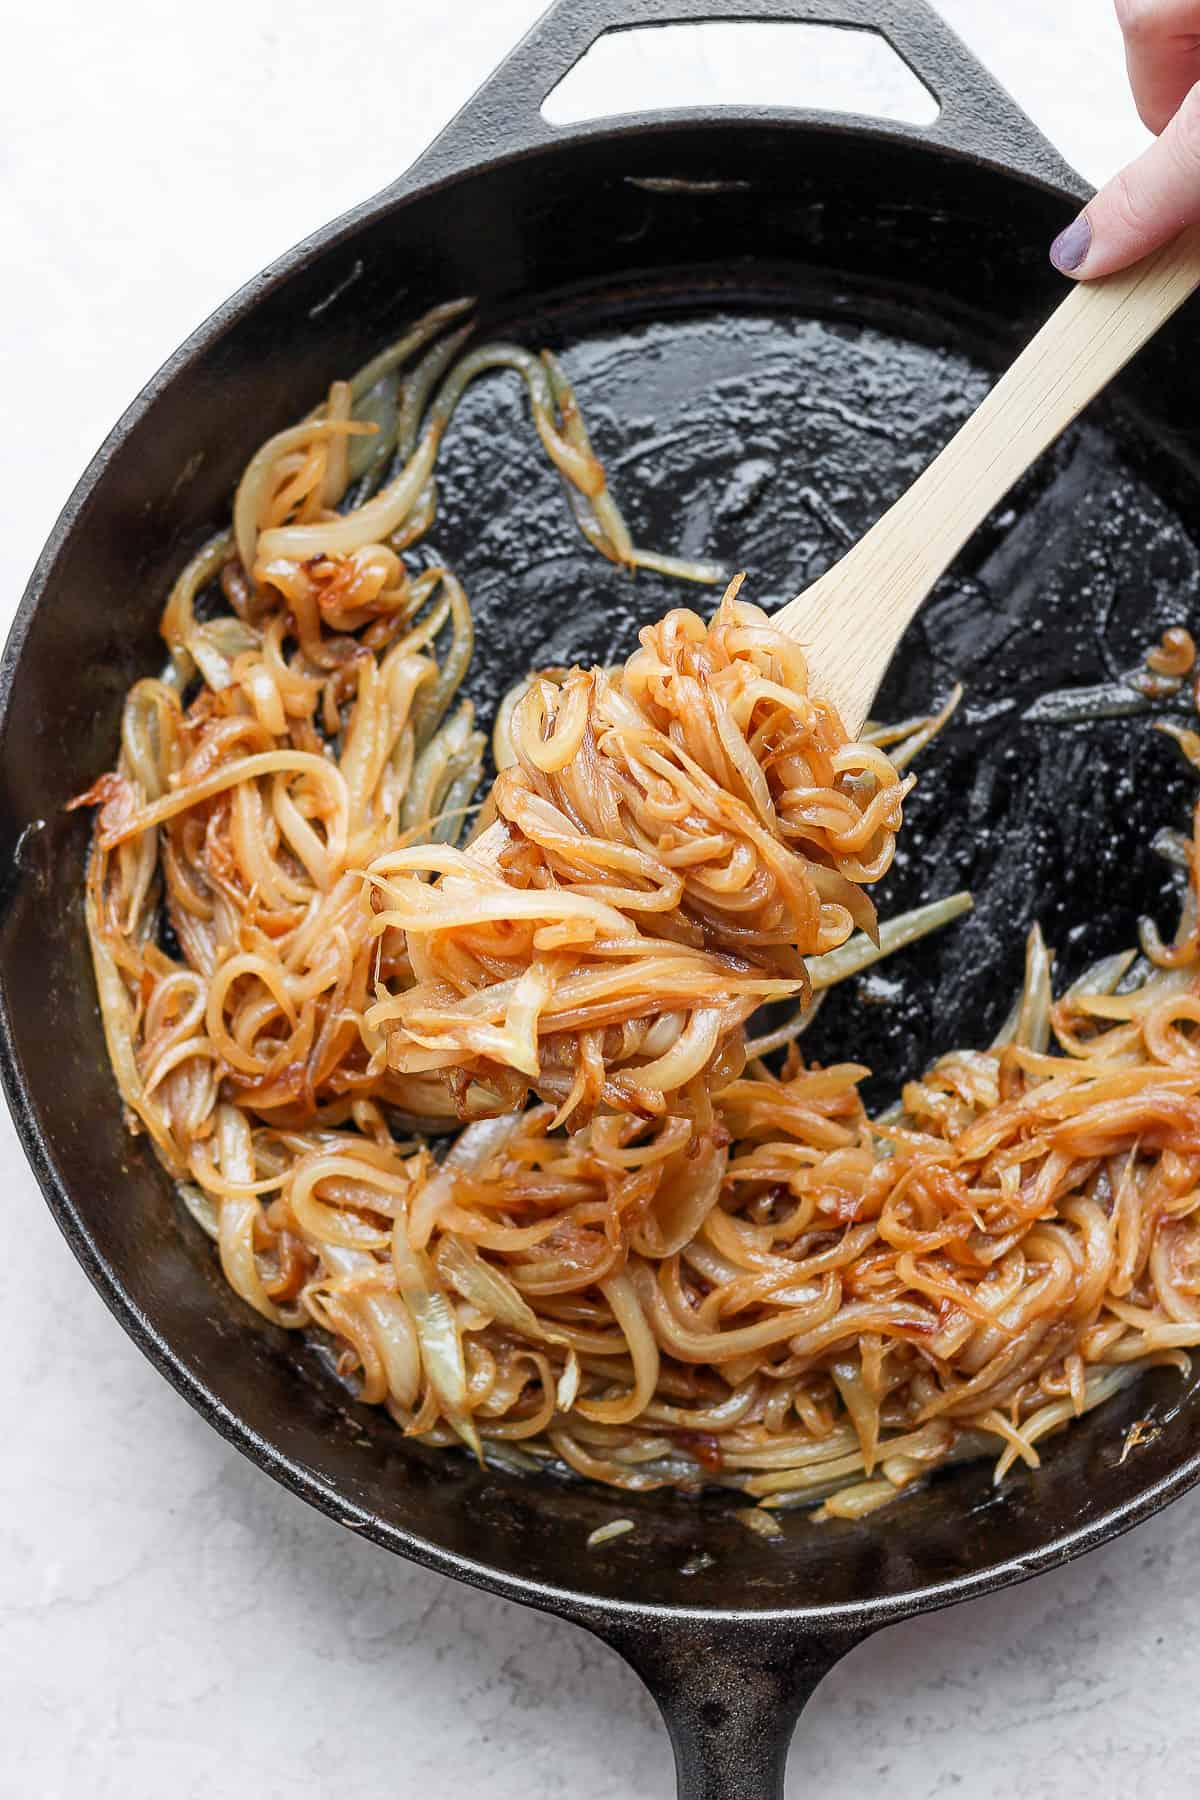
Let me teach you how to caramelize onions. They are that silky, sweet, and savory ingredient that amps up deliciousness in dishes like bistro burgers and bbq chicken pizza. All you need are onions, oil, and some time in the kitchen.
Onions are not just a tasty garnish on the side of a plate! They add nutritional value – with small amounts of vitamins A, C, B vitamins, calcium, iron, potassium, and antioxidants which may help fight cancer.
Ingredients to make caramelized onions
- Onions: Most caramelized onions use white or yellow onions. The sweet varieties – like Vidalla – caramelize easily because of their higher sugar content, but purple onions (the onion in BBQ pizza) are good, too.
- Oil: Opinions are split on this. Some swear by a neutral oil like canola which allows the onion taste to come through. Others use olive oil, and some mix olive oil and butter. The upshot: use what you like.
- Sugar: This is an optional short cut. Adding a sprinkle of sugar (brown or white) once the onions are soft can speed up the browning process. Note, the onions will be good but not reach full caramelization.
- Balsamic vinegar: In addition, a splash of balsamic vinegar (or wine,) to deglaze the pan at the end of the cooking process maximizes flavor and color because the browned bits stuck to the pan are incorporated into the onions. Vinegar’s tartness also balances out the sweet flavor of the onions.
How to caramelize onions
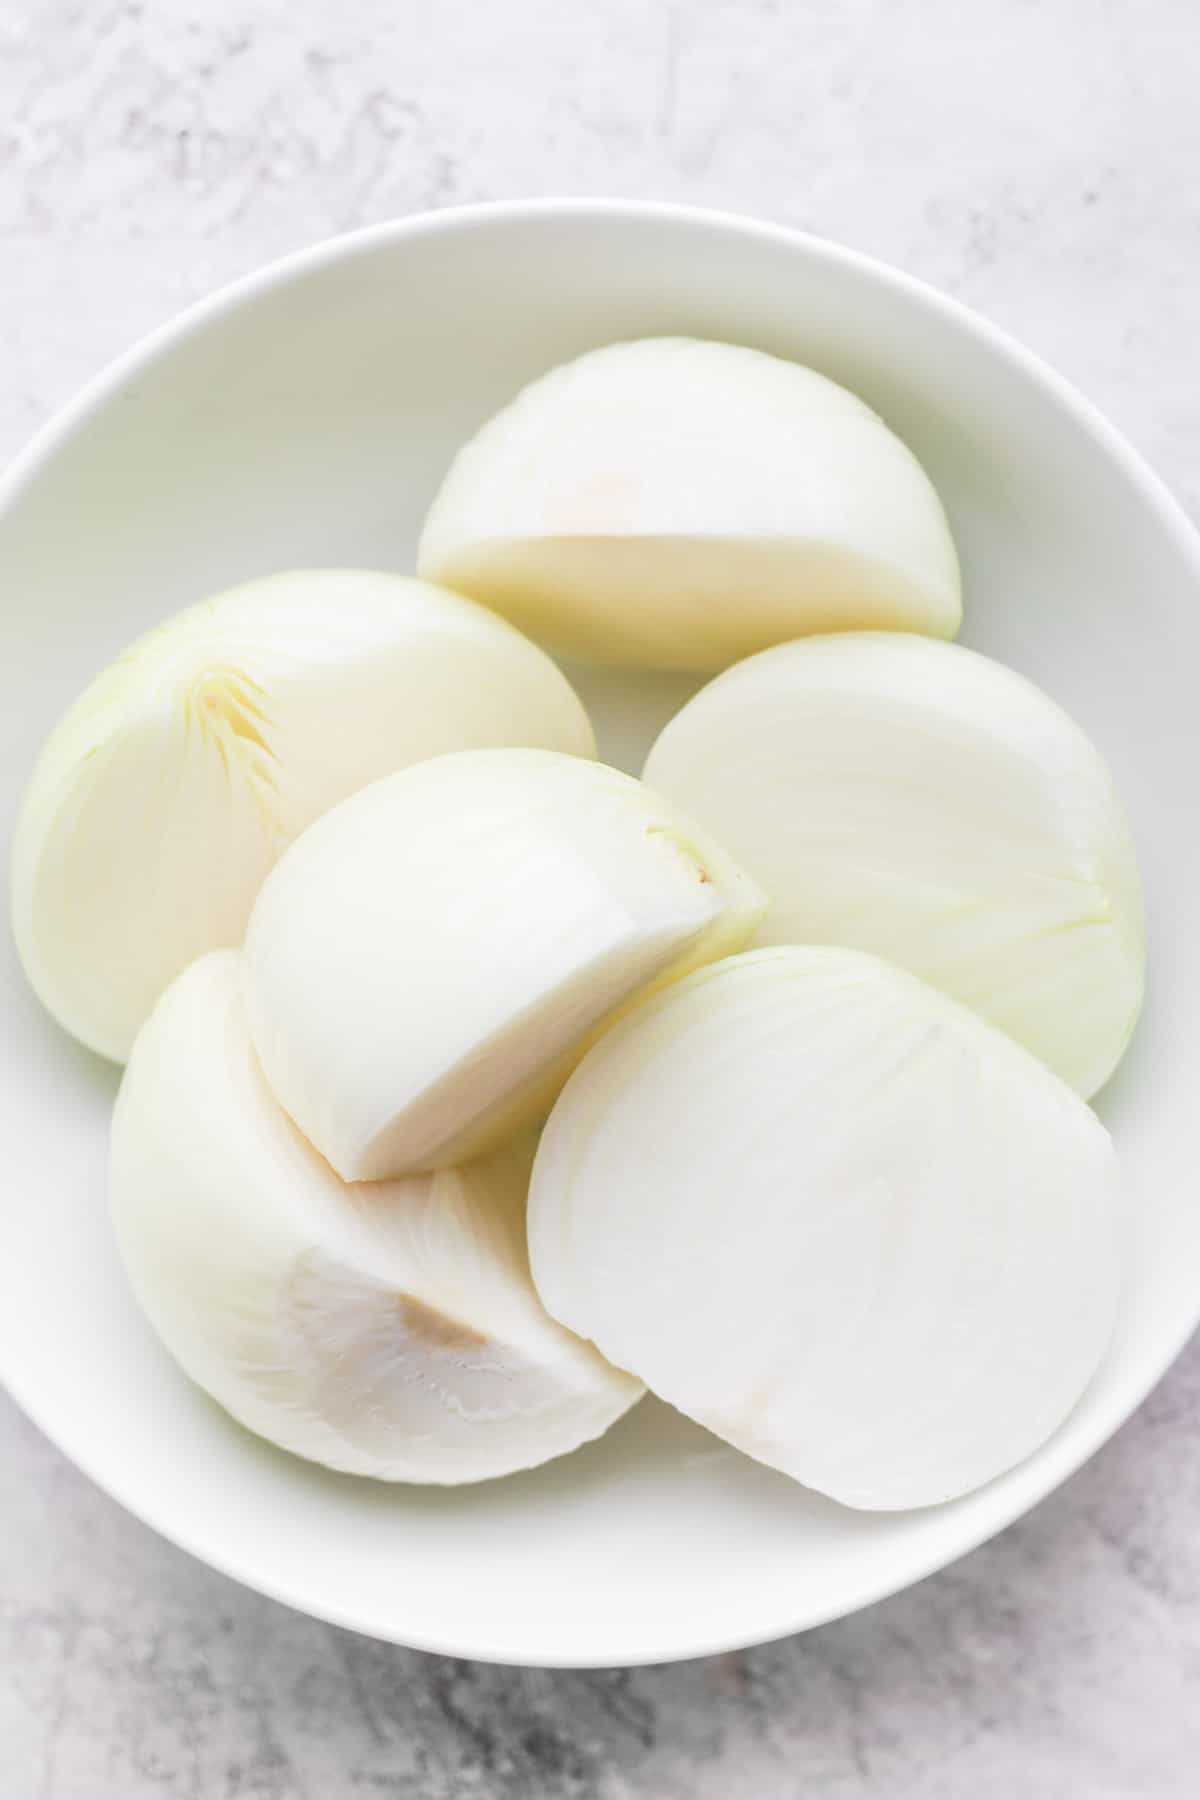
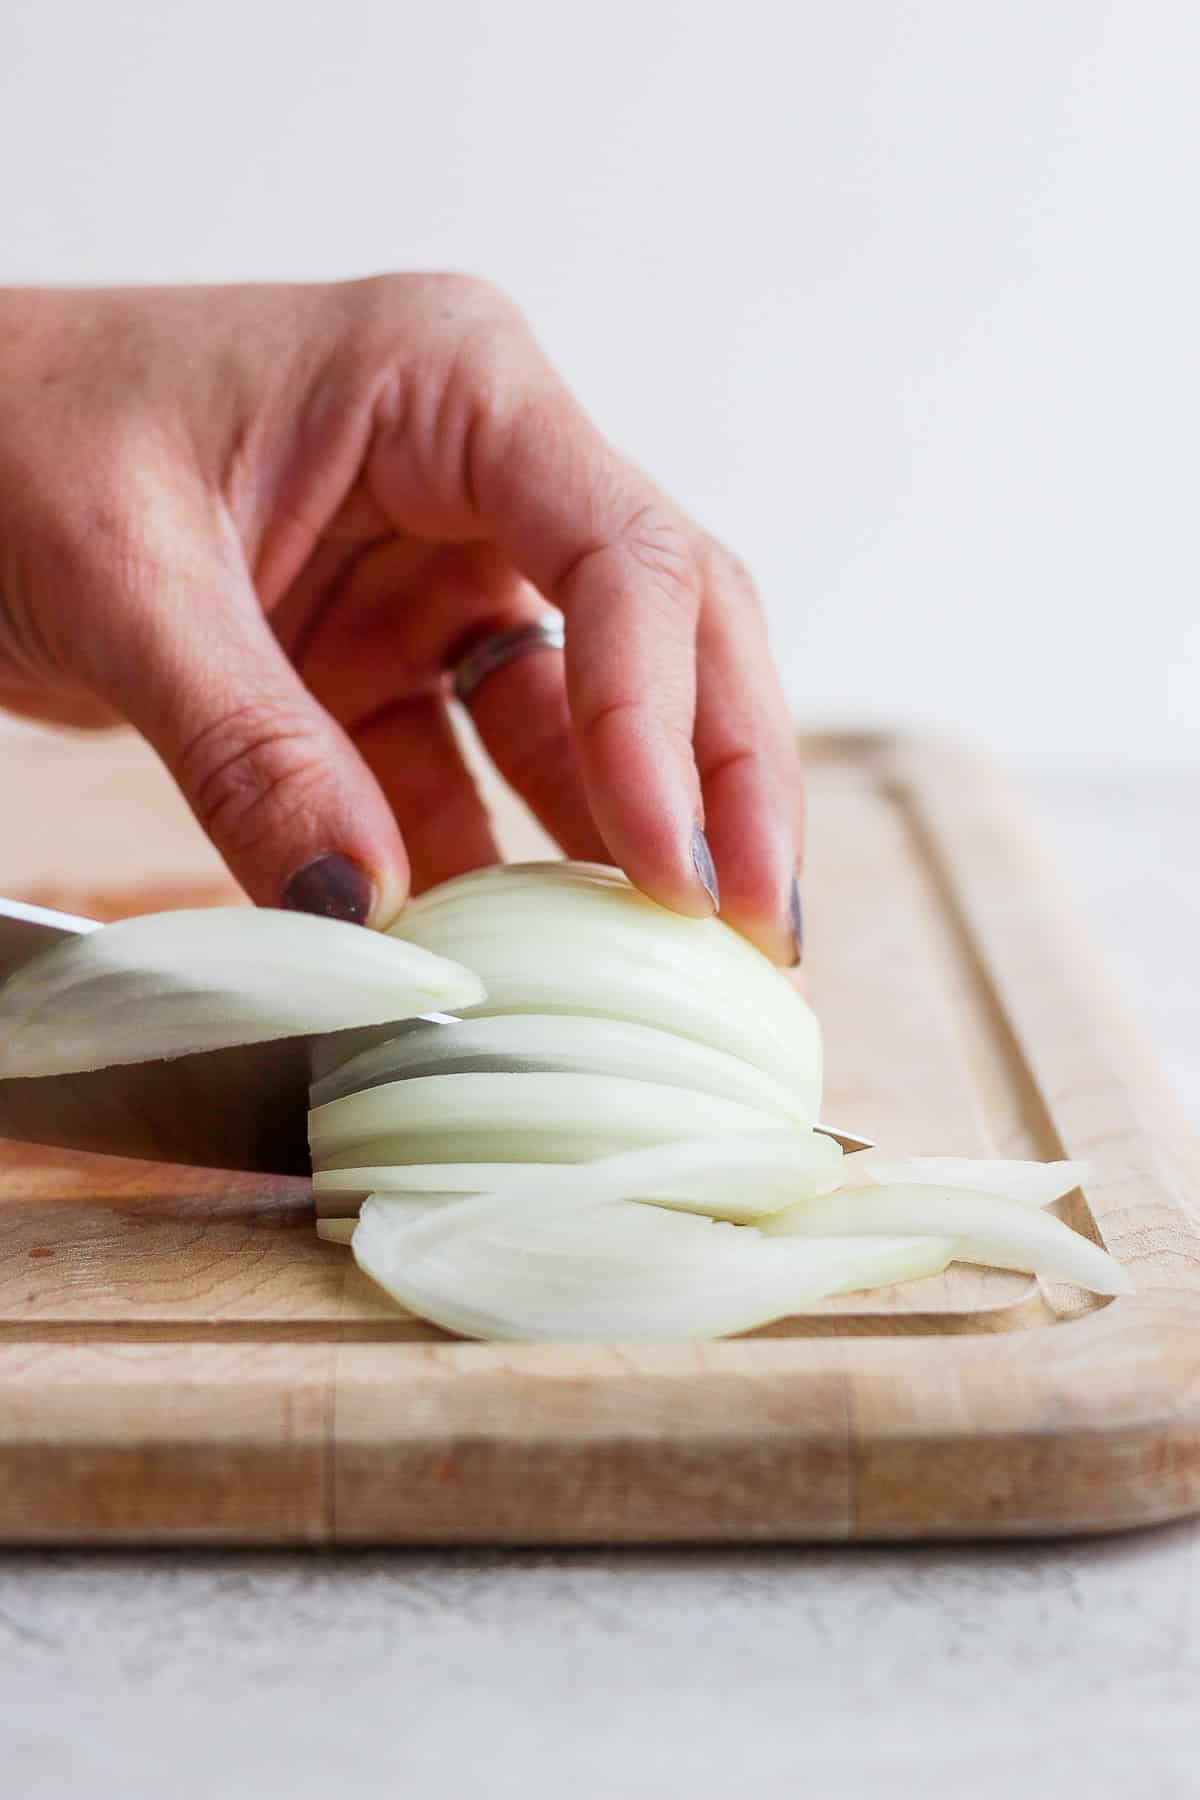
- First, julienne each peeled and halved onion.
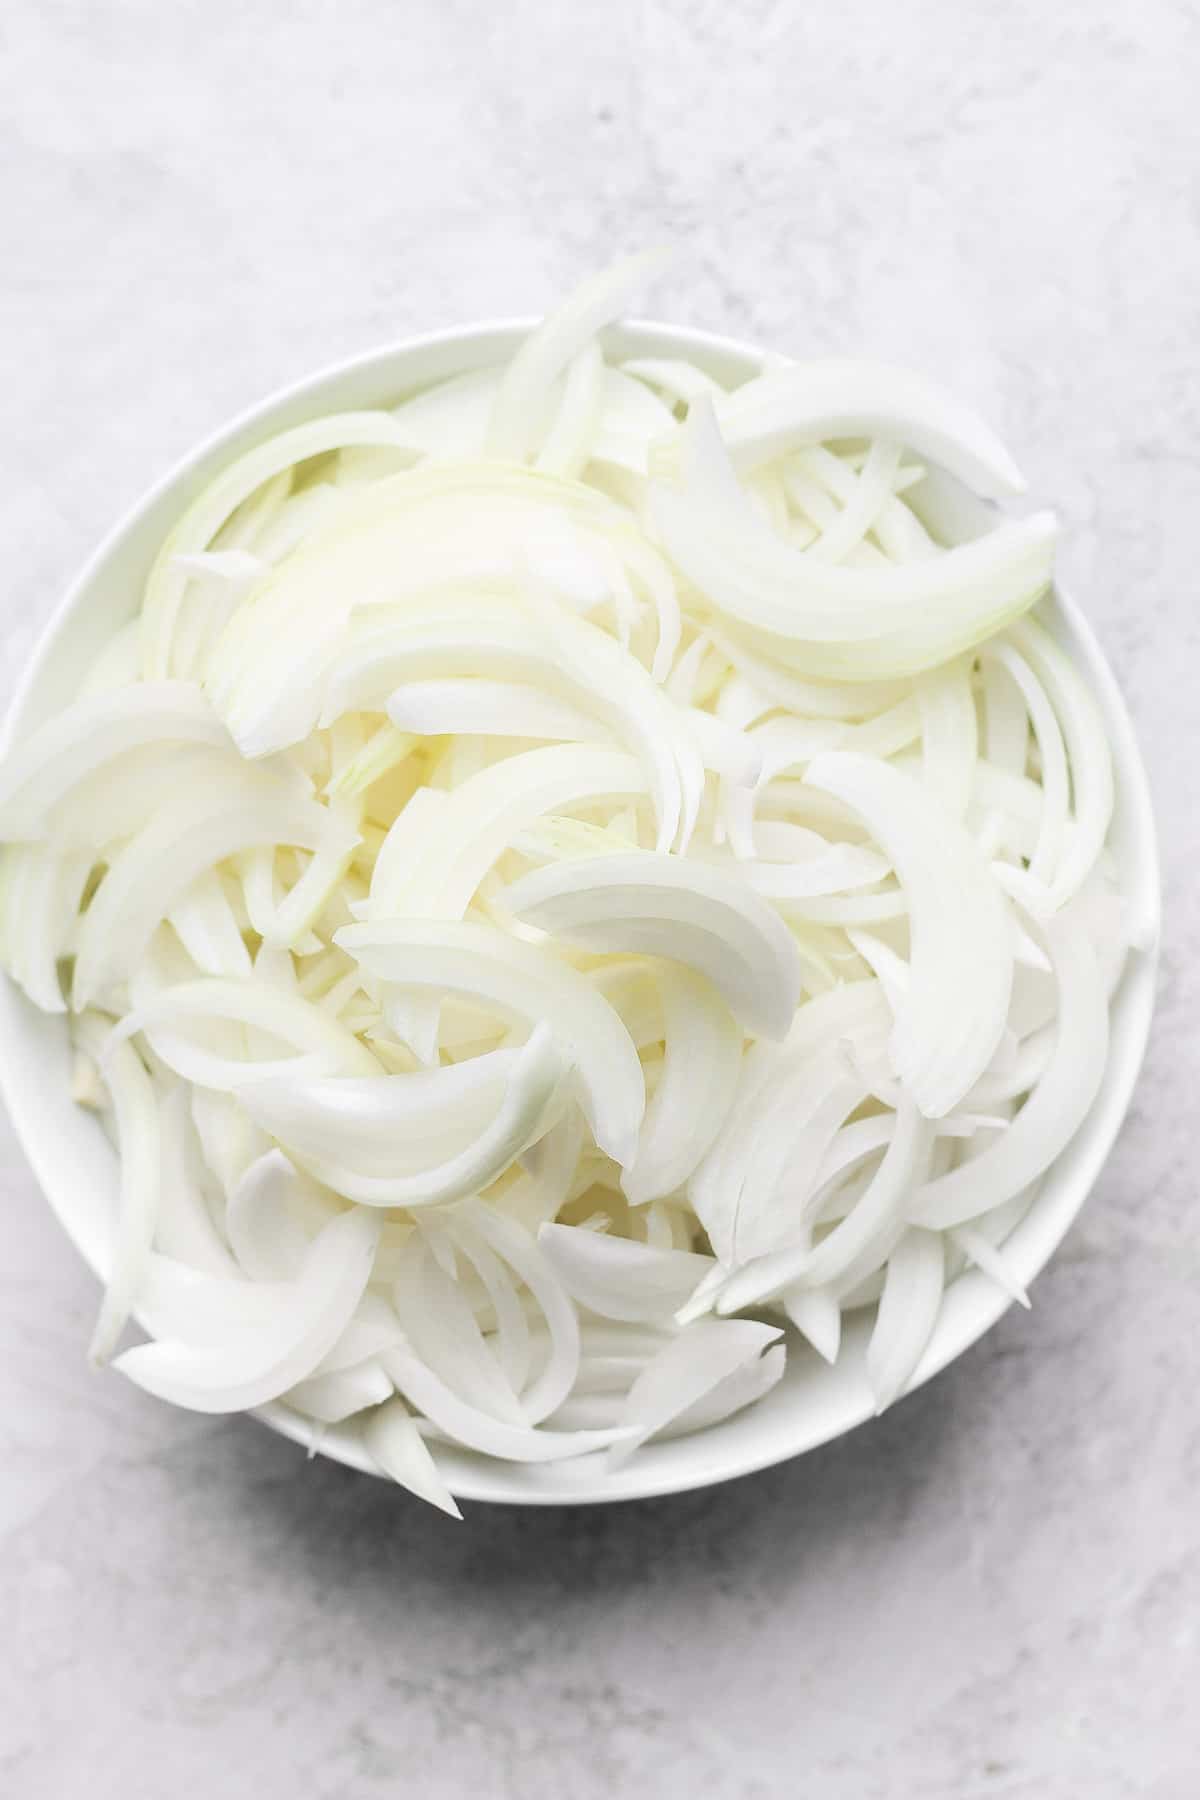
- Separate the slices.
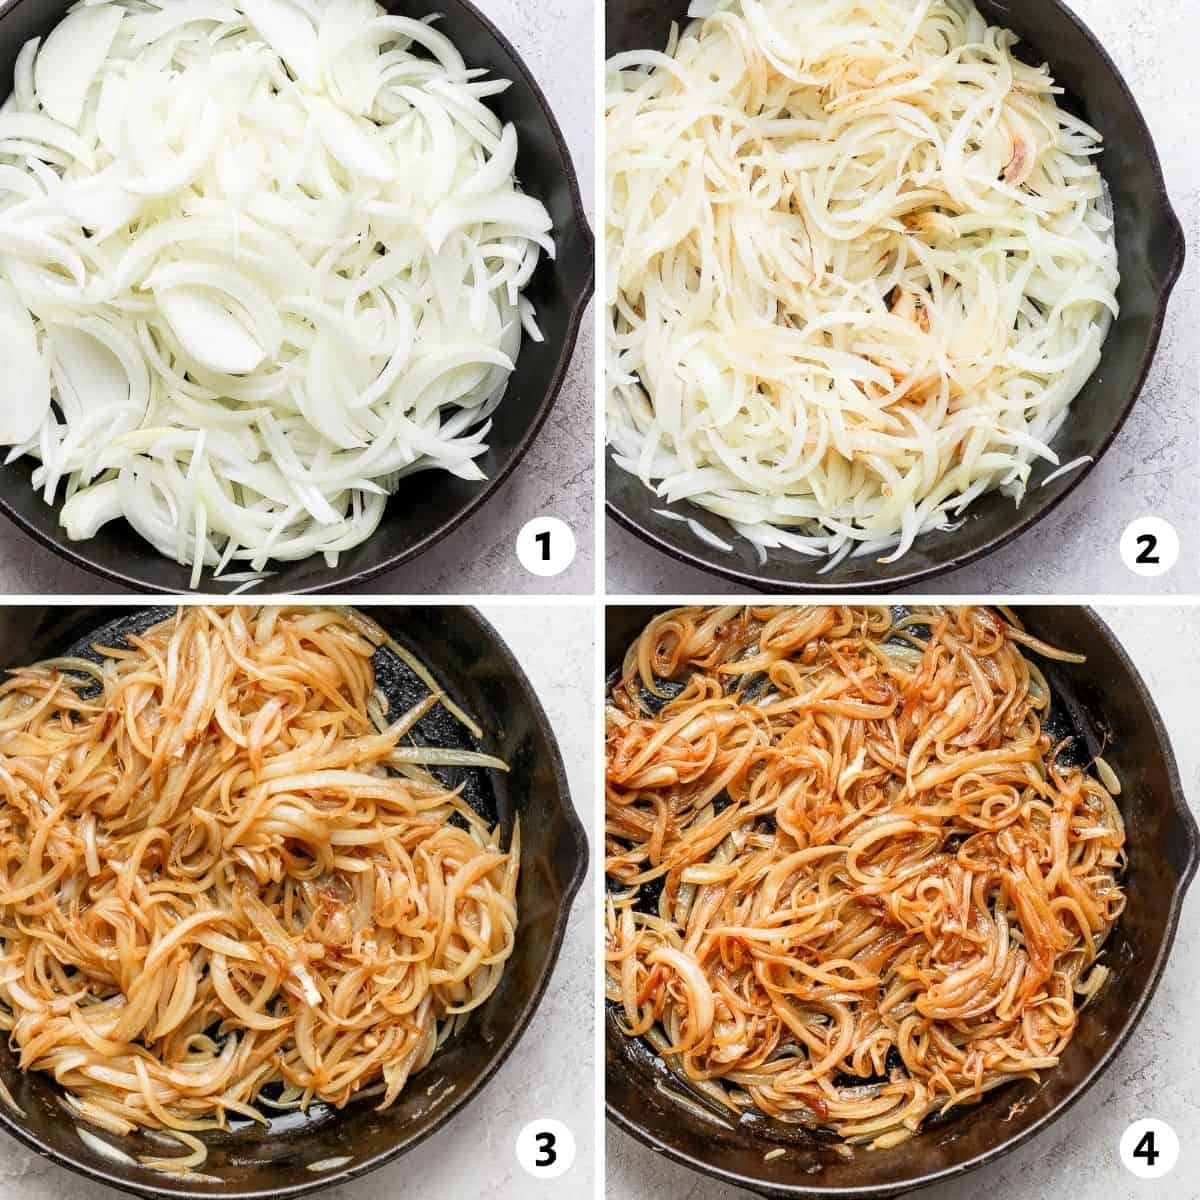
- Heat a large, wide pan with low sides on medium-high heat. (A cast-iron skillet is ideal and if you have a choice, avoid nonstick pans that do not foster the flavorful build-up of those flavorful browned bits.) Add the oil to the pan. When there is a wisp of smoke, carefully – to avoid the hot oil splattering – add in the onions.
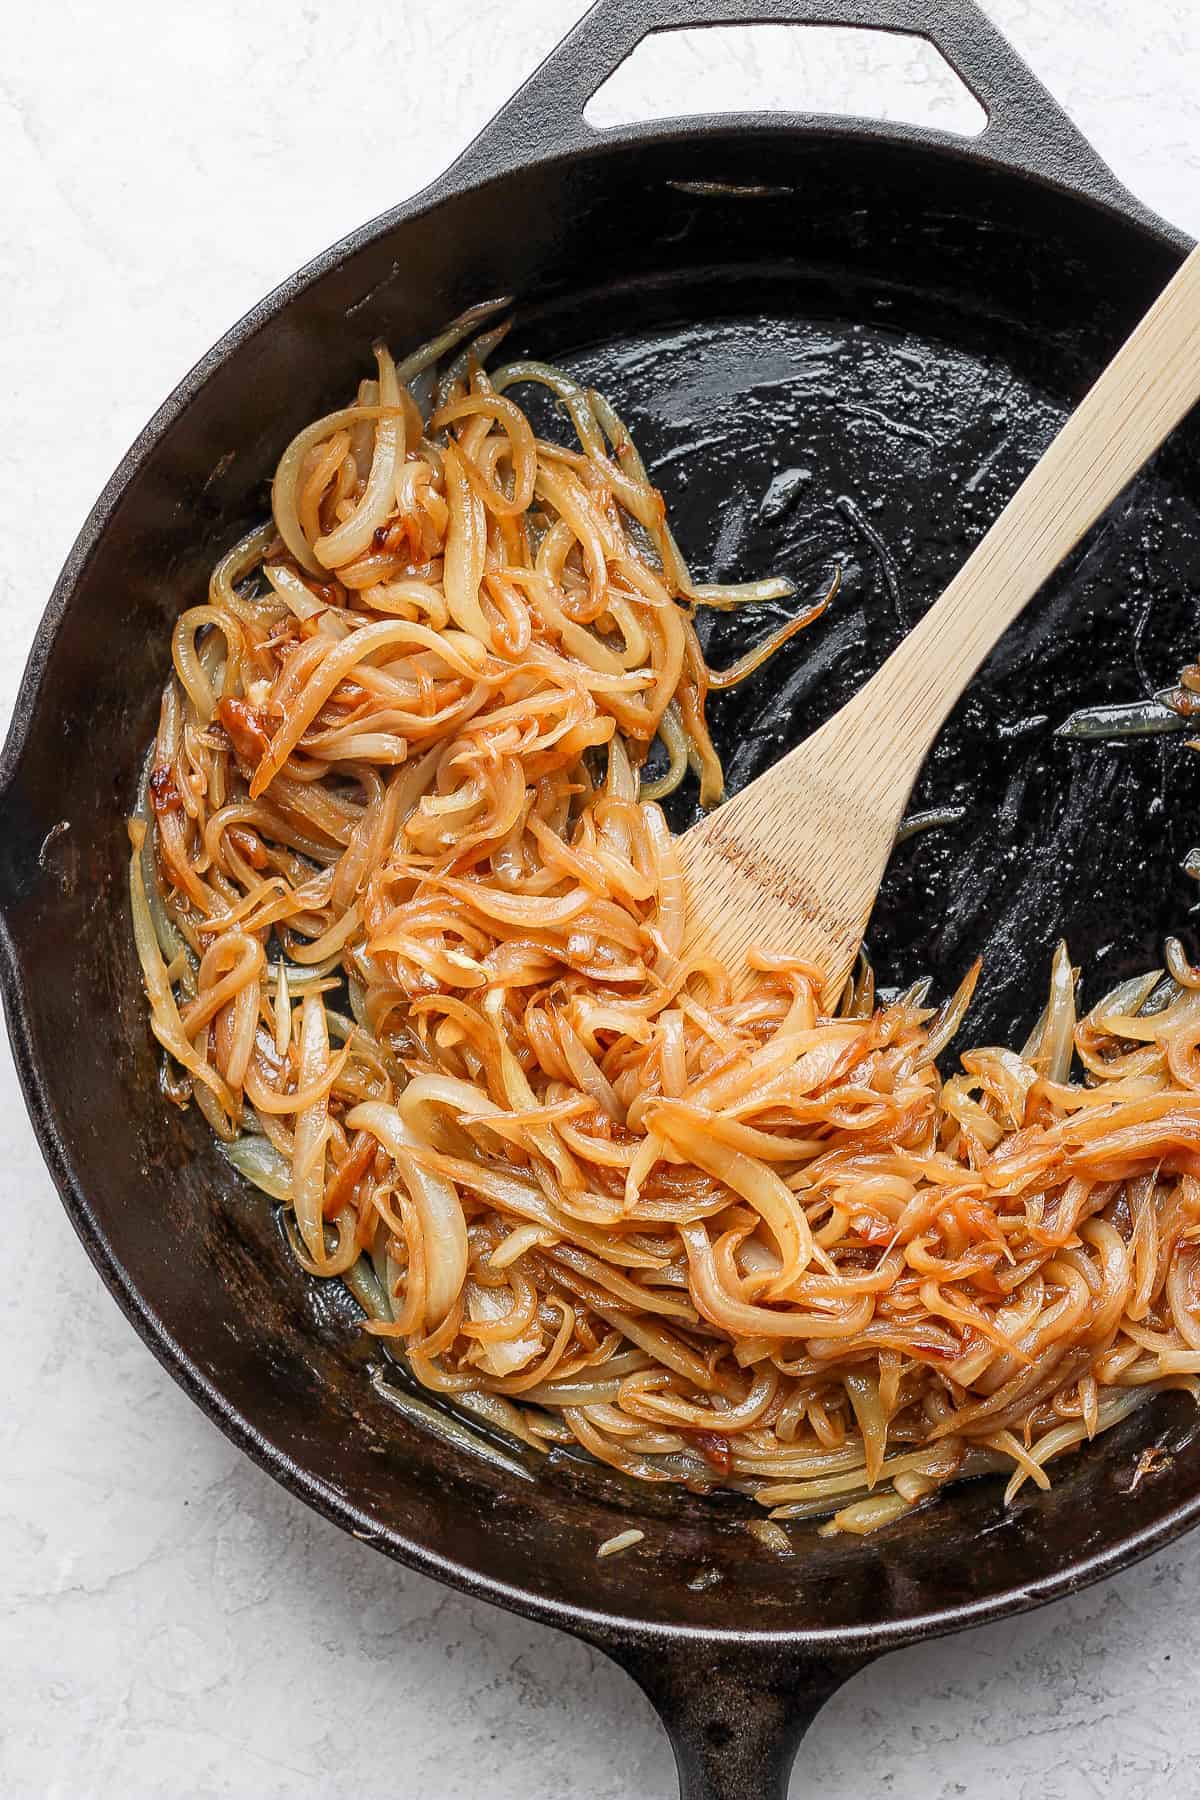
- Stir periodically, for 10 minutes, allowing them to color. Let the pan regain heat before stirring again.
- Reduce the heat to medium-low and continue to cook, stirring frequently for about 10 minutes.
- Reduce heat to low and continue to cook until evenly caramelized about 15 more minutes.
Tips for making the best caramelized onions
- Definitely, use a wide skillet not a saucepan: This gives more surface area for the onions to spread out and allows the water in them to evaporate – a key to browning.
- Always, watch the heat: You don’t want the onions to get too brown too fast or become crispy. Make micro-adjustments in your flame or burner setting as necessary.
- Remember, water is your friend: Water evaporation is part of the caramelization process but as the onions start to cook down – and they cook down A LOT – a splash of water can help prevent burning.
- And your wooden spoon is a friend, too: A vigorous stir can keep things moving if the onions are browning too fast.
- Allow the onions to cool in the pan if possible. This creates a steam that helps release the goodies stuck to the bottom and also help achieve a better color in the end.
Recipes with caramelized onions
- French Onion Dip
- Lebanese Mujadara
- Caramelized Onion and Mushroom Pizza
- Cornbread with Caramelized Onions and Apples
- Crostini with Balsamic Caramelized Onions, Melted Cheese and Sage
- Gourmet Grilled Cheese Sandwich
- Savory Caramelized Onion Tart
- Caramelized Onion Pasta
- Kale and Caramelized Onion Stuffing
- Skillet Potatoes with Caramelized Onions
Frequently asked questions
In a tightly sealed container, these are good for five days.
Definitely! Some people even use the ice cube tray method to have small bites of caramelized goodness always on hand. They will keep for up to six months.
Yes, some people like to add a teaspoon of salt at the beginning. Some like to salt at the end. I prefer my onions straight up.
For more cooking resources:
- How to Cut Onions
- How to Make Aioli
- How to Cook White Rice
- How to Cook Brown Rice
- How to Cook Quinoa in a Pot
- How to Cook Pasta
- How to Peel Garlic
- How to Cook Chickpeas
- How to Make Oatmeal
Is there anyone who doesn’t like caramelized onions? On burgers, as a relish beside grilled meat, or piled on pizza they add restaurant-quality zing to any home meal.
If you’ve found this cooking resource for How to Caramelize Onions helpful or if you’ve tried any recipe on FeelGoodFoodie, then don’t forget to rate the recipe and leave me a comment below! I would love to hear about your experience with this technique. And if you snapped some shots of it, share it with me on Instagram so I can repost on my stories!
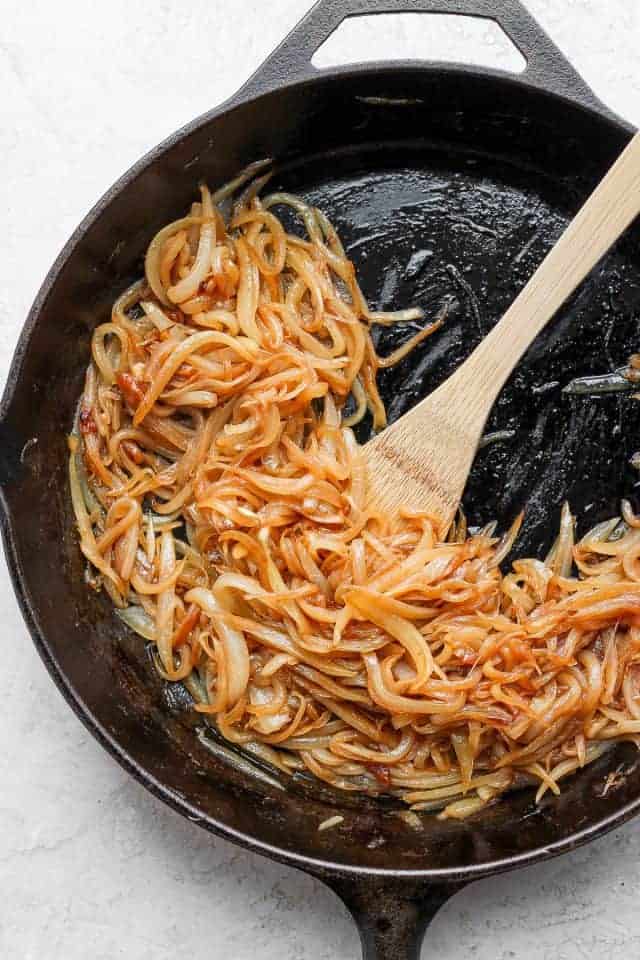
How to Caramelize Onions
Ingredients
- 3 yellow onions peeled and halved
- 4 tablespoons oil vegetable or canola
Instructions
- Julienne slice each onion half and separate the slices.
- Heat a large pan with low sides on medium high heat. Add the oil in the pan, and when there is a wisp of smoke, carefully add the onions to the pan.
- Stir periodically, for 10 minutes, allowing them to color and let the pan regain heat before stirring again
- Reduce heat to medium low and continue to cook, stirring frequently for about 10 minutes.
- Reduce heat to low and continue to cook until evenly caramelized, about 15 more minutes.
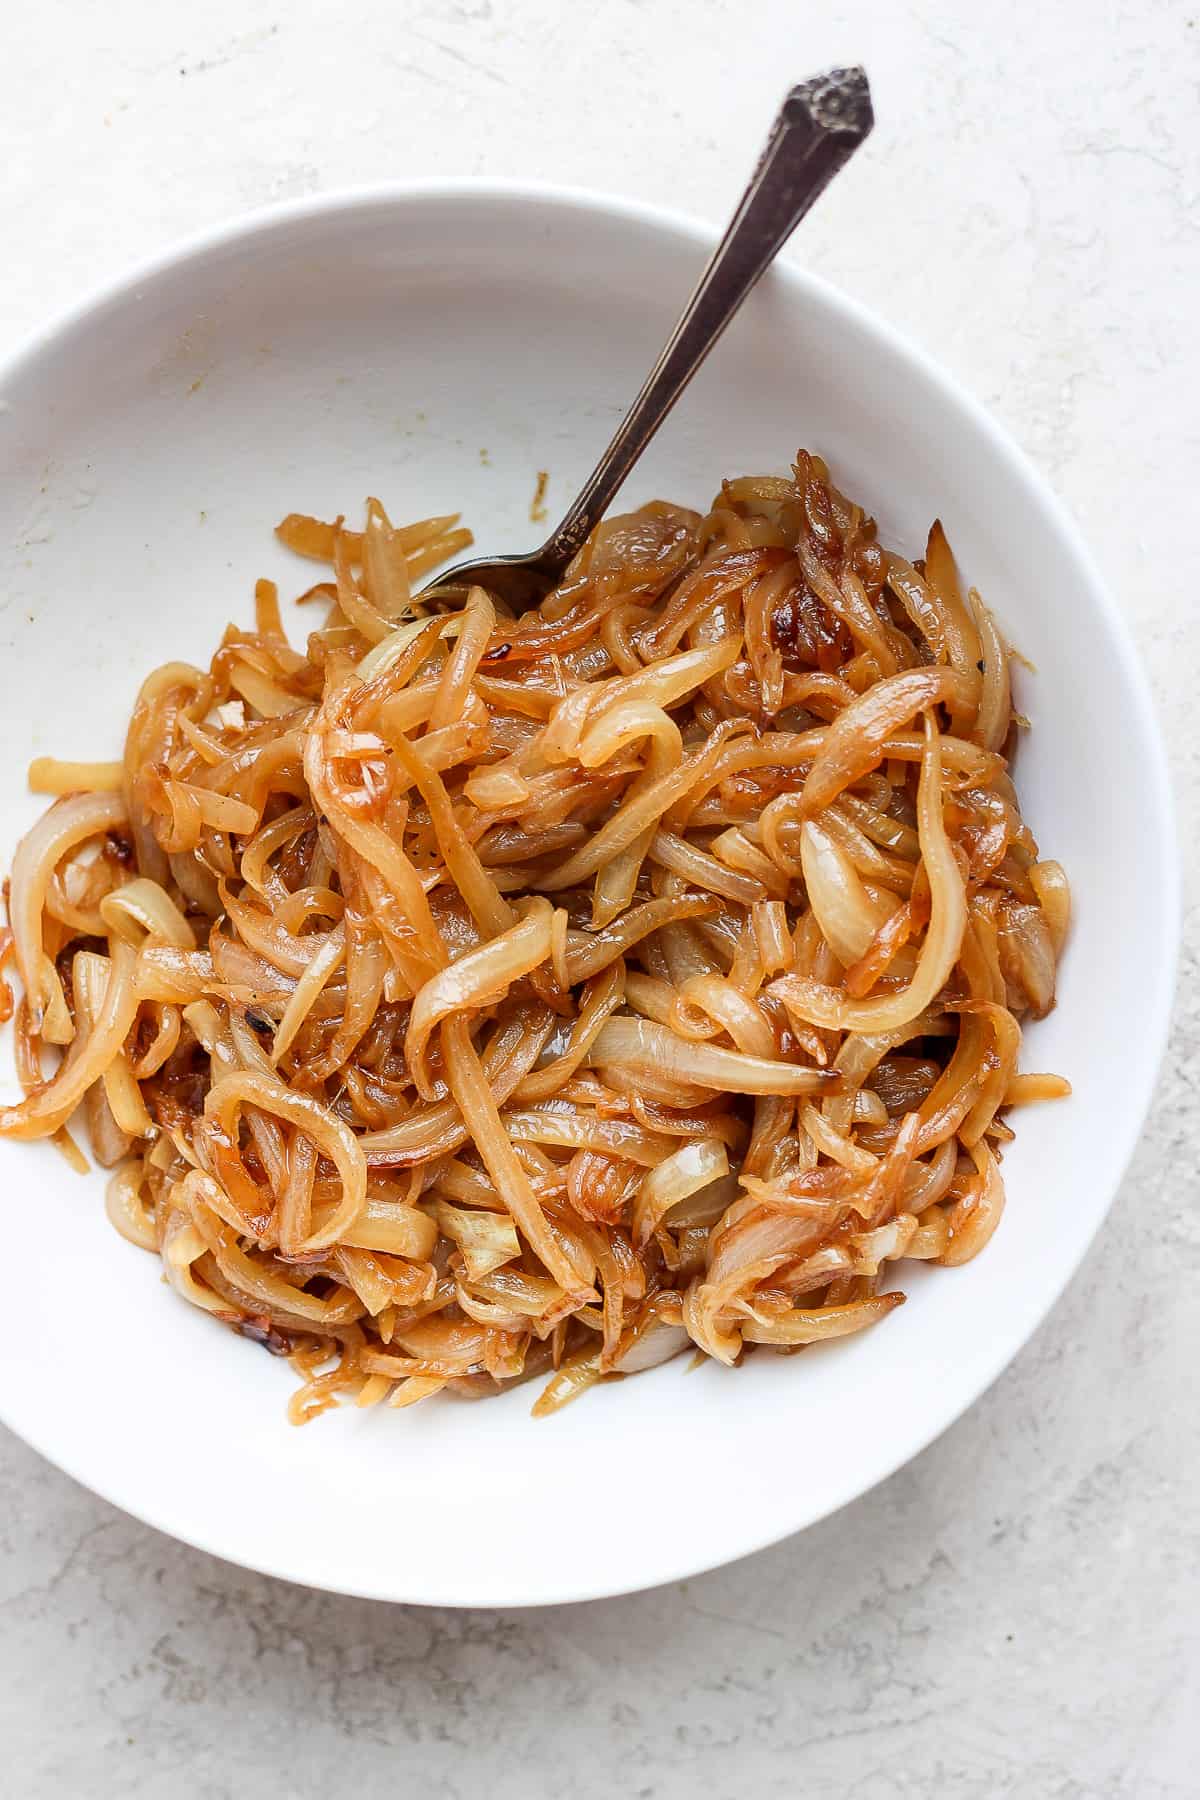
- Turn off the heat and spread the onions out in the pan and allow to cool. They should be a rich brown and soft, but not mushy.
Notes
Nutrition
Nutrition information provided is an estimate. It will vary based on cooking method and specific ingredients used.

