This post may contain affiliate links. Please read our disclosure policy.
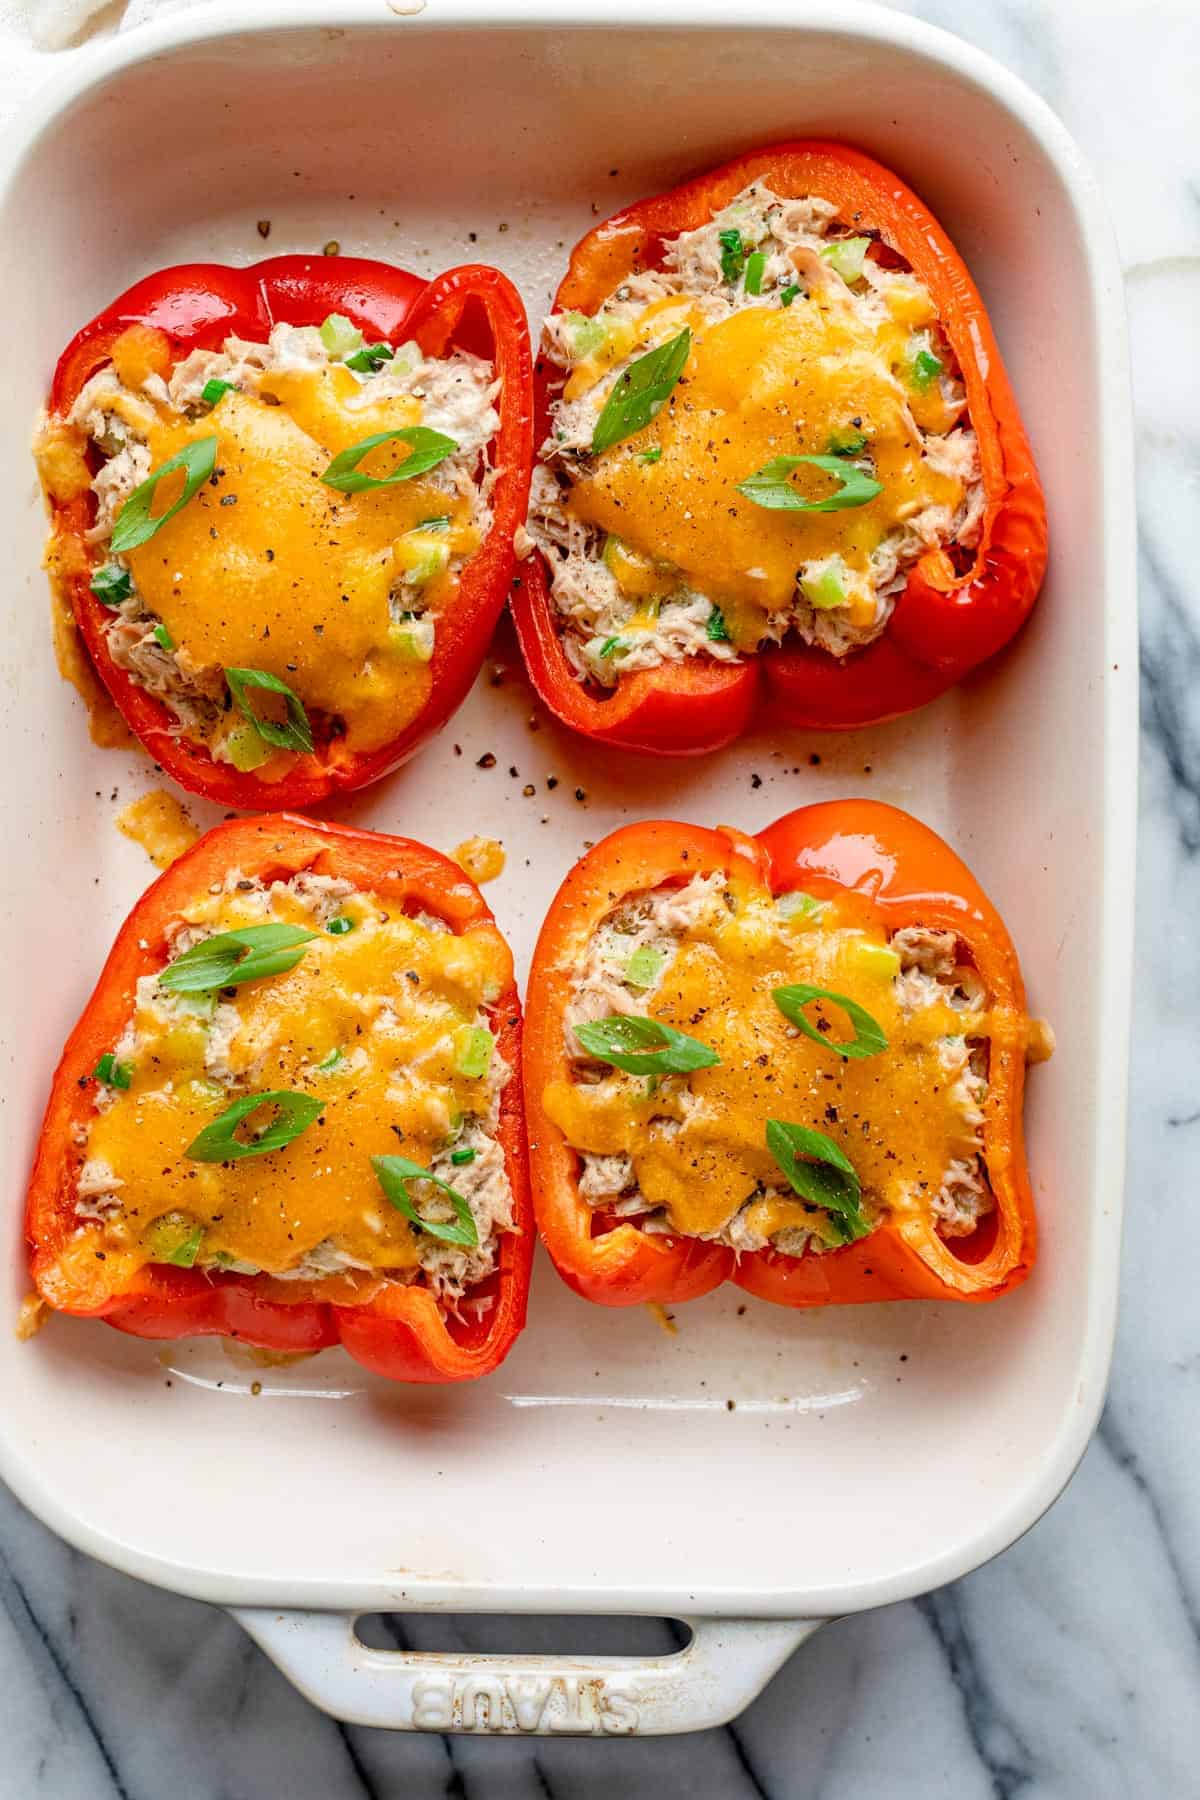
These oven baked bell peppers are stuffed with tuna salad and topped with cheese for a delicious and easy-to- make main meal. Healthy and delicious, these tuna melt stuffed peppers come together easily and quickly and are so flavorful!
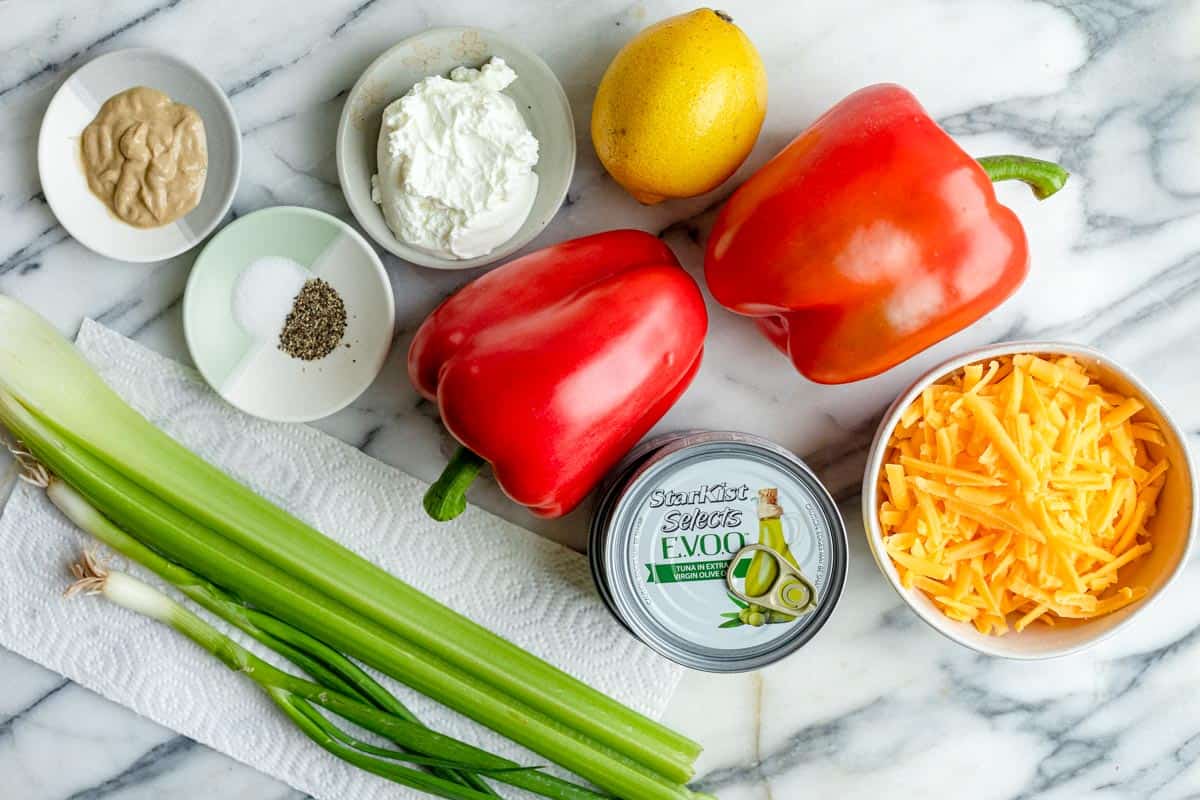
Ingredients to make the recipe
- Bell peppers: I like to use red peppers which are sweeter, but any color will work well. You can even use the mini bell peppers. Just remove the stem and seeds.
- Tuna: StarKist Solid Yellowfin Tuna in Extra Virgin Olive Oil is what I used here. You can also use white albacore tuna. If you’re using one packed in water, it might be a good idea to add some olive oil to the tuna mixture for a comparable taste.
- Celery and green onions: For flavor and texture. You can also use red onions or sweet onions.
- Greek yogurt: Yogurt adds a nice creaminess as well as extra protein and probiotics.
- Seasonings: Lemon juice, dijon mustard, salt and pepper.
- Shredded cheese: To top the peppers for the ultimate tuna melt experience.
How to make tuna stuffed bell peppers
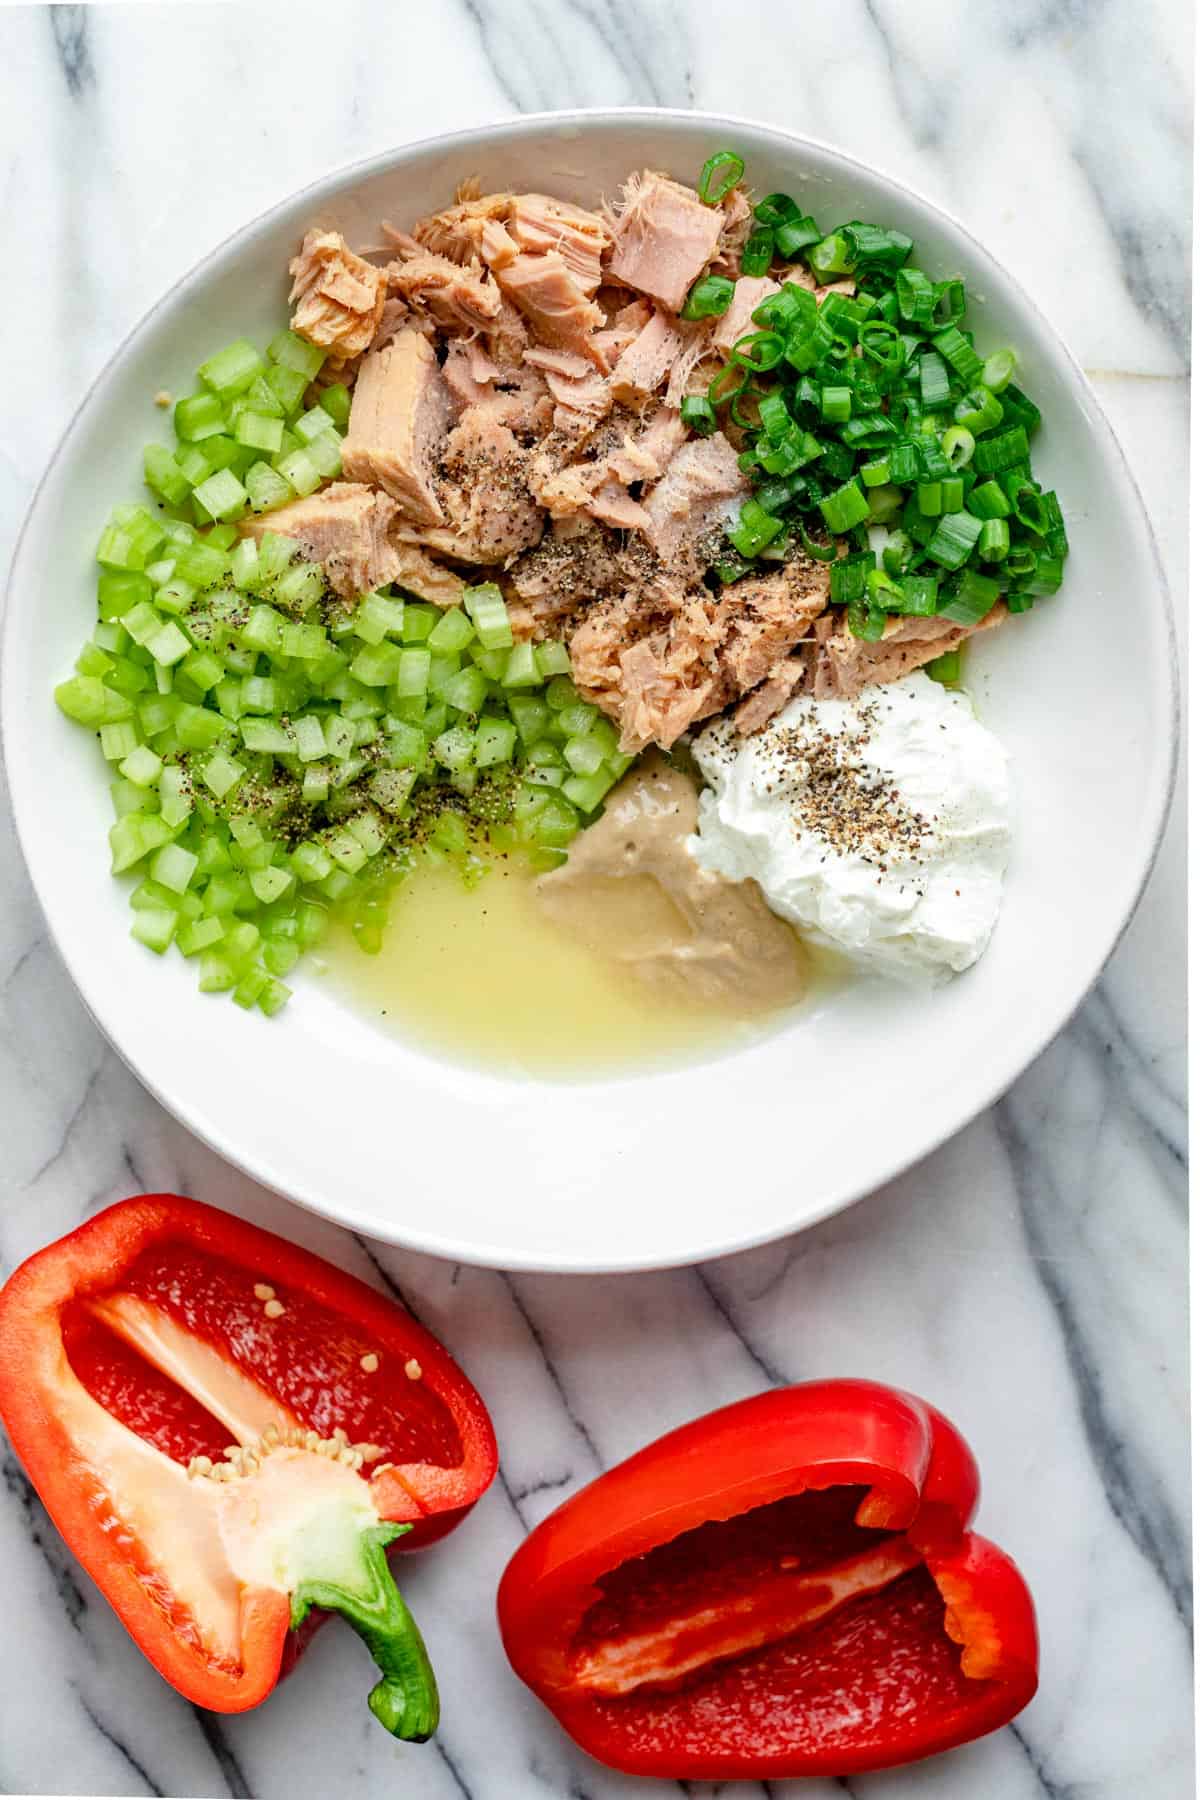
- Start by making your favorite tuna salad or use the combination of ingredients in the recipe card below. It has such a wonderful flavor that’s perfect in this stuffed peppers recipe. Make sure to mix it well with a fork so the ingredients are well combined.
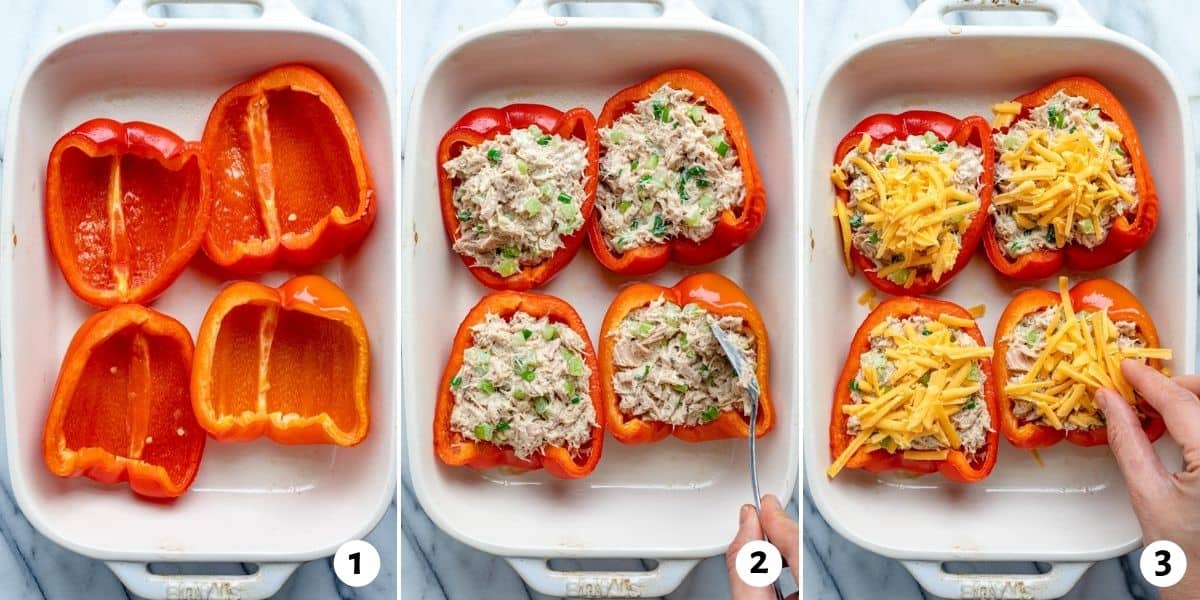
- While you’re mixing the tuna salad, you can cook the halved bell peppers in the oven until they soften.
- Add the tuna salad to each pepper half.
- Top with the shredded cheddar cheese and bake just until the cheese is melty.
Tips for making the recipe well
- Use tuna with extra virgin olive oil. I usually opt for tuna with water and then drain the water. But I recently found these wild yellow fin tuna packed with extra virgin olive oil, and it really makes such a difference with the taste especially since we’re not using any mayo!
- Make sure to cook the peppers before adding the tuna salad. If you’re looking for more of a cold lunch situation, you can keep the peppers uncooked and leave out the cheese. But since we’re adding the cheese for a tuna melt, it helps to soften the bell peppers first and then finish cooking with the tuna and cheese.
- Use Greek yogurt for a healthier option. Tuna salad like this is often made with mayo which is much higher in fat. As well as containing less fat, Greek yogurt also contains protein and probiotics and it adds a nice fresh tang too.
Frequently asked questions
You can make the tuna salad up to 3 days ahead of time and keep it covered in the fridge. You can also stuff the peppers a day ahead of time and then just pop them in the oven before serving.
These tuna stuffed bell peppers are great to serve with veggie, salad, potato or rice sides. Try them with:
Baked Sweet Potato Fries
Cilantro Lime Cauliflower Rice
Lebanese Rice
Broccoli Fritters
Classic Greek Salad
These tuna stuffed bell peppers are a great healthy dinner choice. They are low carb, low calorie and high in protein. If you want to make them even healthier you can skip the cheese, but this is non negotiable for me!
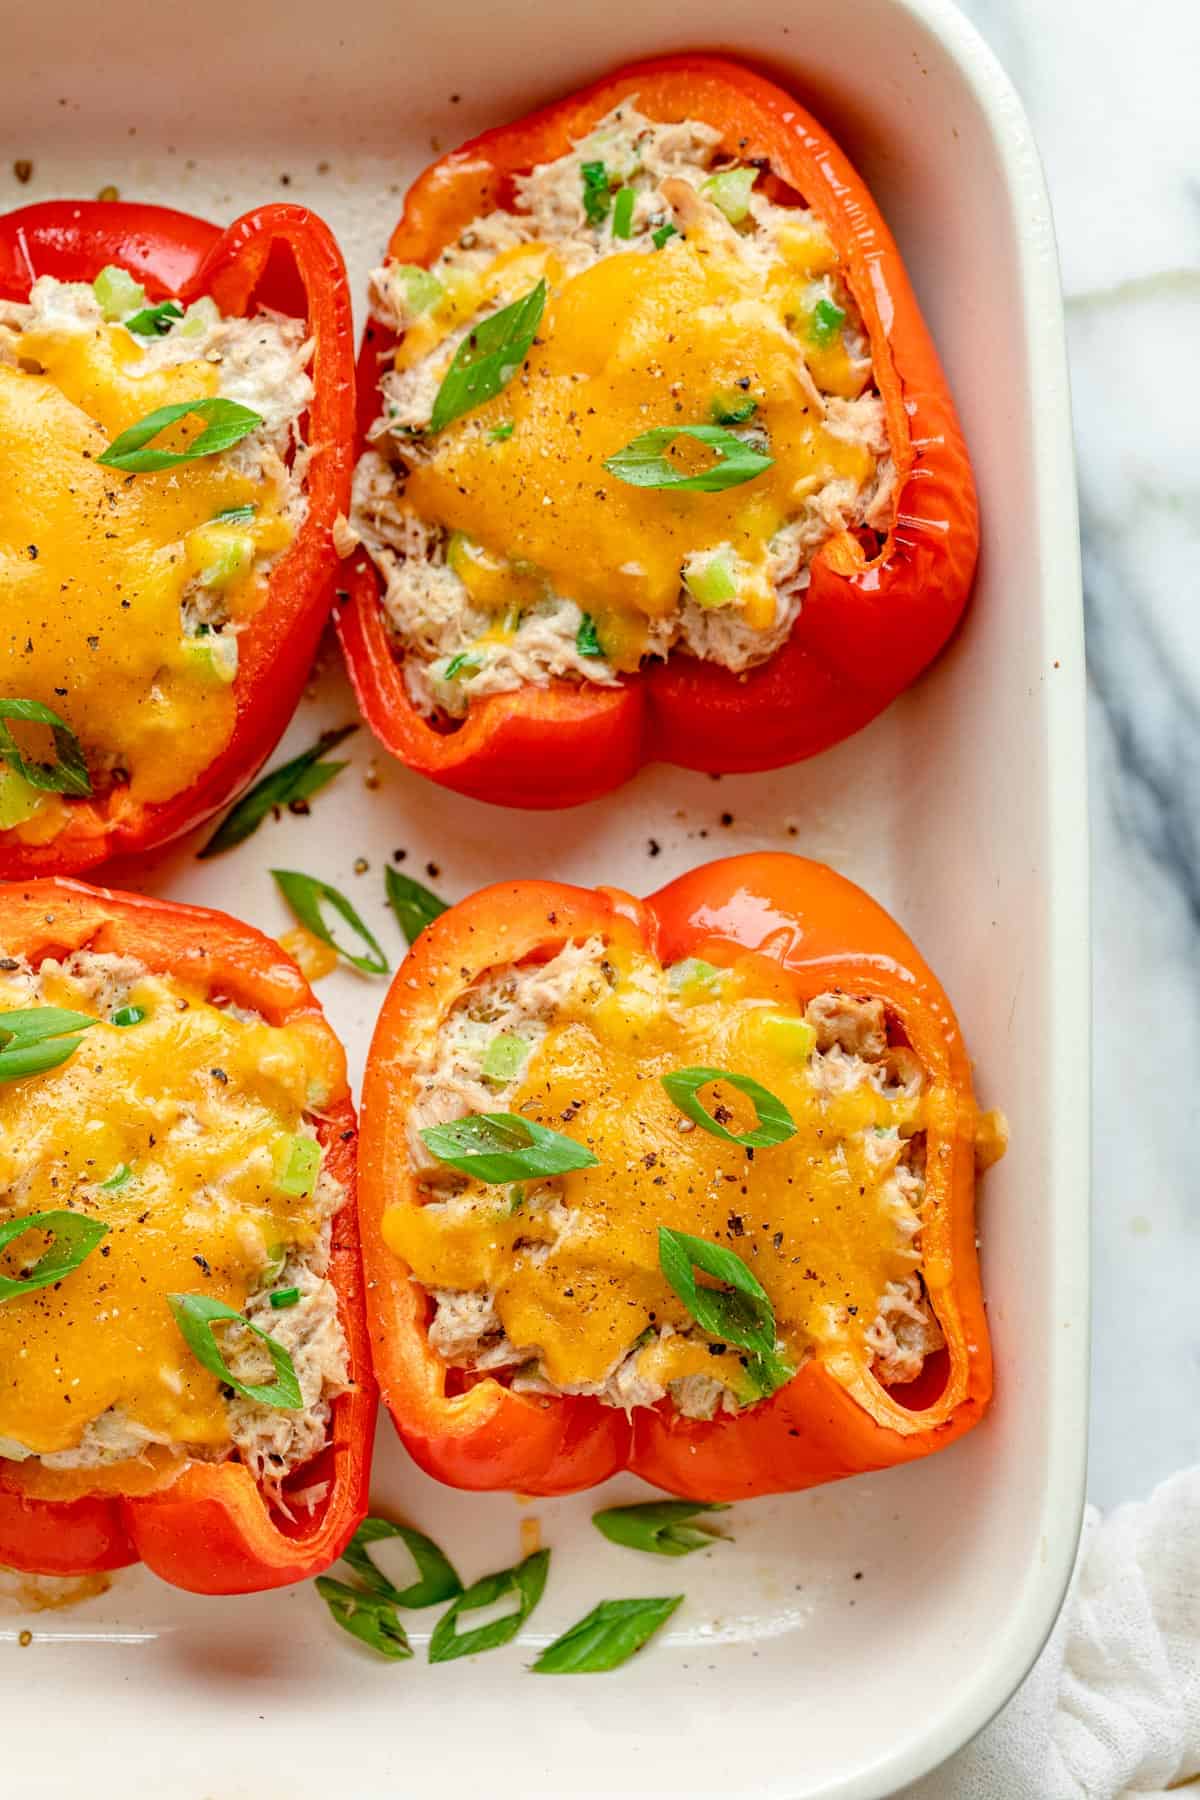
These tuna stuffed bell peppers are so quick and easy to make, they are a perfect option for an easy weeknight meal that the whole family will love.
More recipes with tuna:
If you’ve tried this healthy-ish feel good Tuna Melt Stuffed Bell Peppers recipe or any other recipe on FeelGoodFoodie, then don’t forget to rate the recipe and leave me a comment below! I would love to hear about your experience making it. And if you snapped some shots of it, share it with me on Instagram so I can repost on my stories!
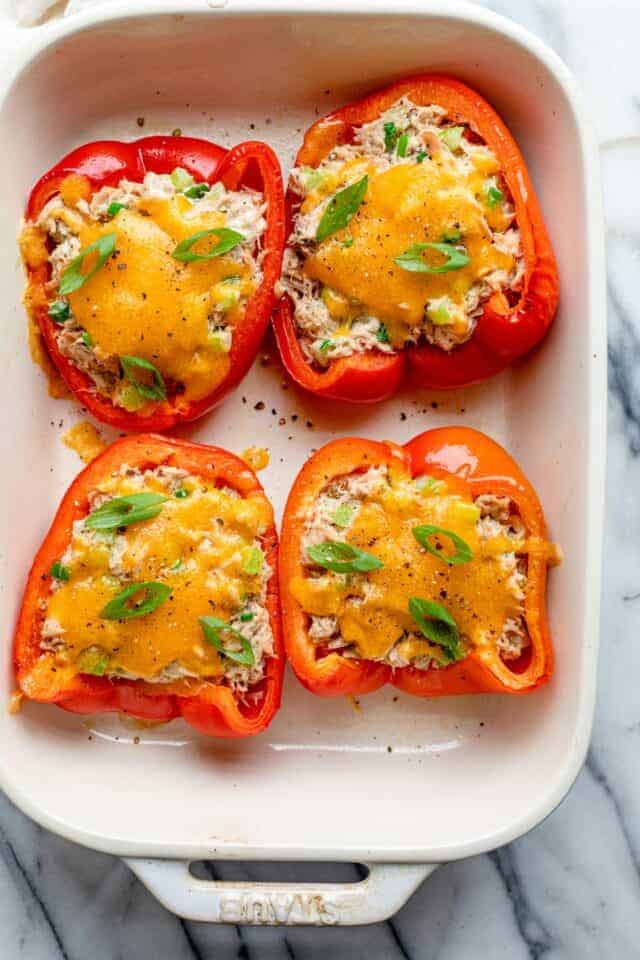
Tuna Melt Stuffed Bell Peppers
Video
Ingredients
- 2 bell peppers halved and cored
- 2 4.5-ounce StarKist Solid Yellowfin Tuna in Extra Virgin Olive Oil
- 2 celery stalks minced
- 4 green onions sliced (greens and whites separated)
- ⅓ cup 2% Greek yogurt
- 2 tablespoons lemon juice
- 1 tablespoon Dijon mustard
- ¼ teaspoon salt
- ¼ teaspoon black pepper
- ¼ cup shredded cheddar cheese
Instructions
- Preheat oven to 425°F. Place the green pepper halves in an oven-safe baking dish and bake until the peppers soften, about 15 minutes.
- In a mixing bowl, stir together the Greek yogurt, lemon juice, Dijon mustard, salt and pepper until well combined.
- Add the tuna on top, along with the celery and most of the green onions (leaving some for garnish). Gently stir until well combined.
- Scoop the tuna salad into the crevice of the four baked pepper halves and sprinkle the cheddar cheese on top. Return the peppers to the oven until the cheese melts, about 5 more minutes.
- Garnish with extra green onions and serve warm.
Notes
Nutrition
Nutrition information provided is an estimate. It will vary based on cooking method and specific ingredients used.
This was SO YUMMY. Best tuna salad I’ve ever eaten & with the added crunch of the pepper – perfection! I’ve started to watch what I’m eating, trying to focus on high protein low carb meals. This hit the spot.
Only question – with the nutrient info, how many servings does this make?
The nutrition is based on eating 1/4 of the recipe, so one single half pepper that has been stuffed.
I love these peppers. I have made them so many times.
Just letting you know that they freeze like a dream. After cooking them in the oven, I let them cool and then put them on a tray to freeze. Once frozen, I wrap them in cling wrap and foil and pop them in the freezer till I need them.
Once thawed, they get nuked or loped into the air fryer to crisp up. Yum!
Thank you so much for taking the time to share!
Hi, Why does the video show a different way too cook compared too your recipe?
Hi Colin, the video shows the same way to cook the stuffed peppers as the recipe card. Where are you seeing a difference?
Definitely liked this. Trying to get more tuna/seafood in my diet and this does the trick. I didn’t watch the video first so put the whole cans of tuna into the mix, oil and all. Next time I’ll drain the tuna but, other than that, no need to change anything.
Hi Crip! So glad you liked the tuna melt stuffed peppers! If you’re using the Starkist tuna with EVOO, you do not have to drain it, but you can drain it if you prefer.
Delicious thanks!!!
Yay! You’re so welcome!